Pyric vs Seleucids 3rd Round

We managed another mid-week game of To the Strongest with me and “Broken Dice” taking the Seleucid force while the Pyric force commanded by Nigel and Paul.  

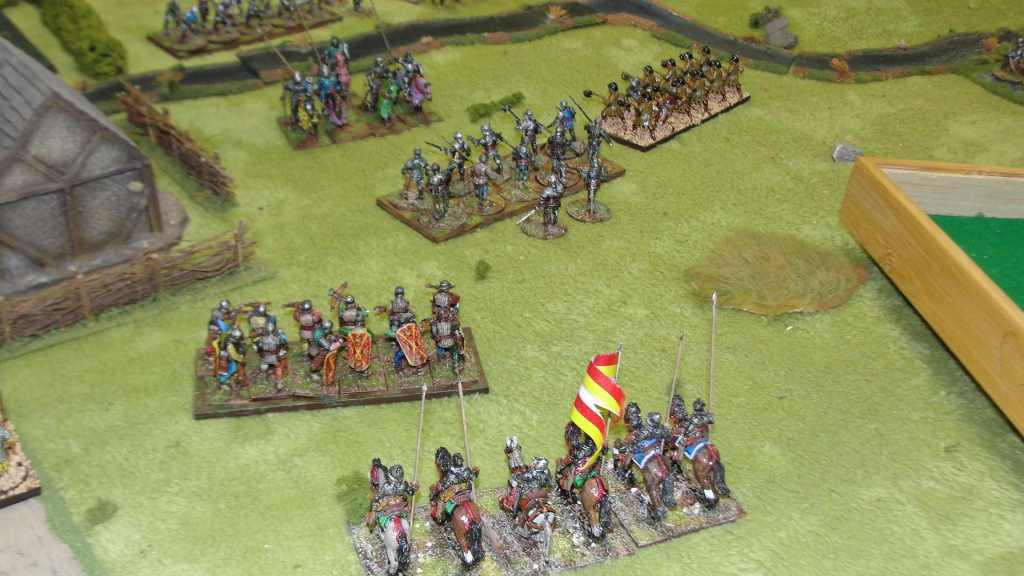
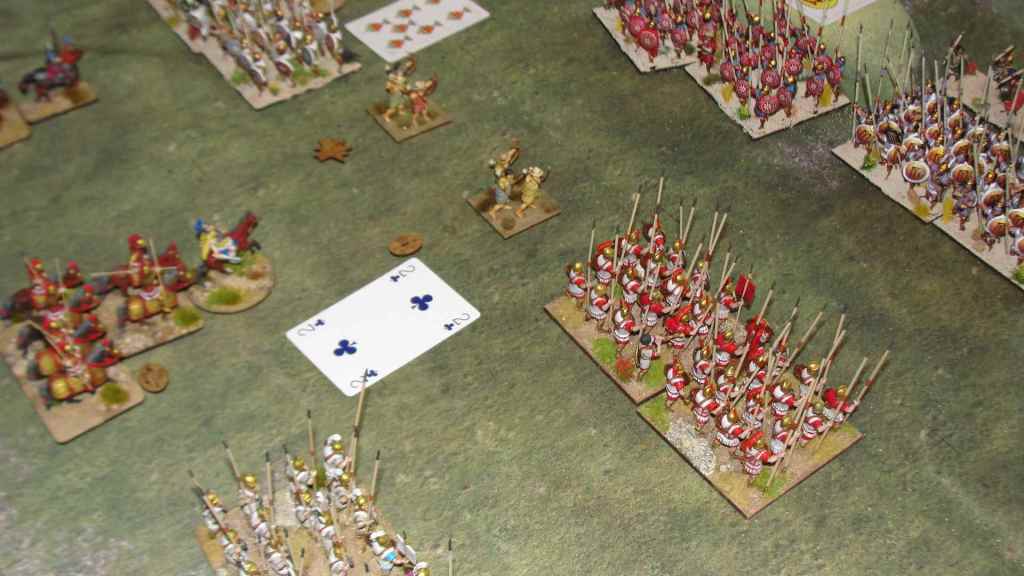
The Seleucids deployed with a cavalry heavy left wing and our right flank contained a lot of hills and woods. And relied on the skirmishing capabilities of their light troops to protect the flanks of the phalanx. The Pyric deployment roughly mirrored ours with their heaviest cavalry on their right wing.

Phalanxes close

Now on my flank I was trying to get my skirmishing troops into cover but failed on some early manoeuvres. This led to Paul advancing his light cavalry through the woods to deny me the opportunity.

Light horse hiding in woods

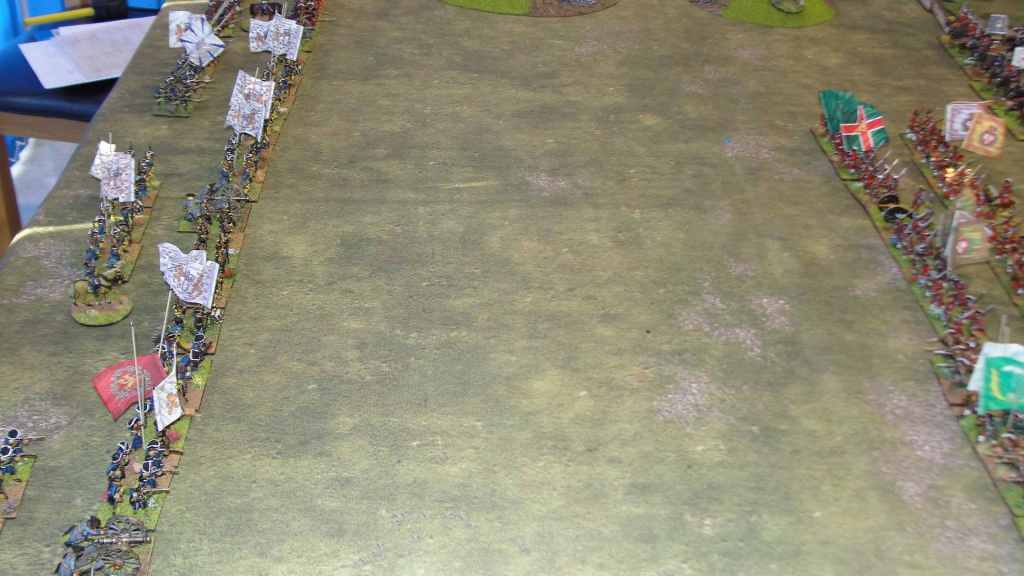
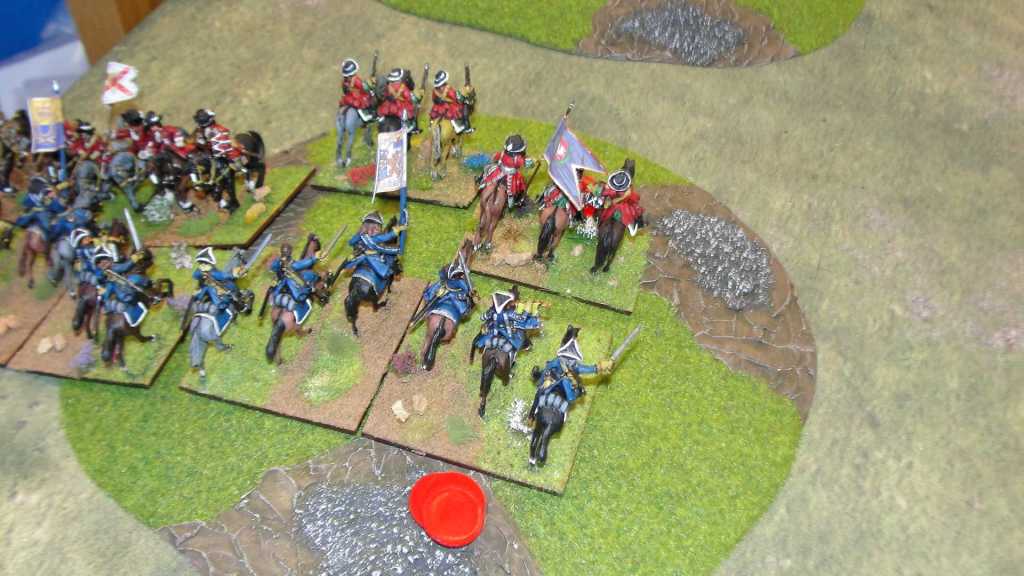
Along the rest of the battlefield the skirmishing started while on our left flank there were some early cavalry engagements.

Cavalry clash on the left and skirmish on the right

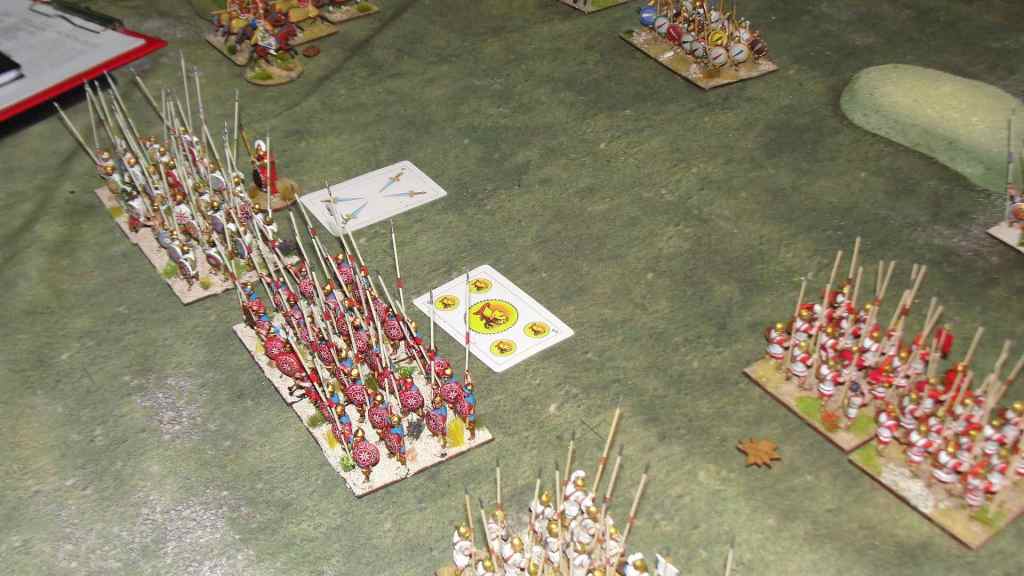
The phalanxes soon engaged with the usual back and forth, but the Seleucids had taken early loses and we needed to inflict damage on the Pyric forces as soon as possible to level things up.

Phalanxes engage

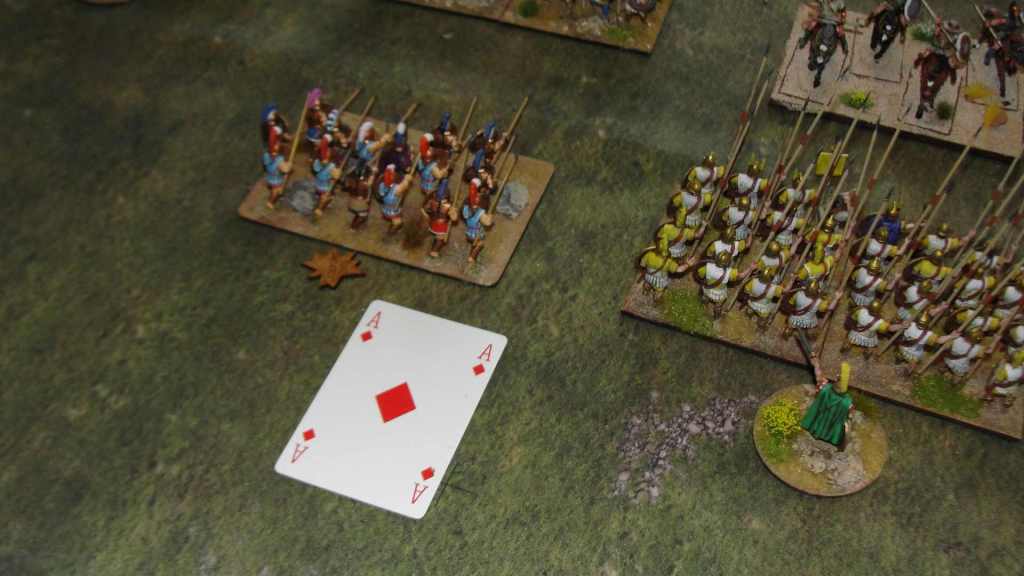
On the right flank the Pyric flank command had seized the cover and I was struggling to make any headway with my skirmishing forces while the Pyric light horse were annoying my pike.

Skirmishers annoy pike

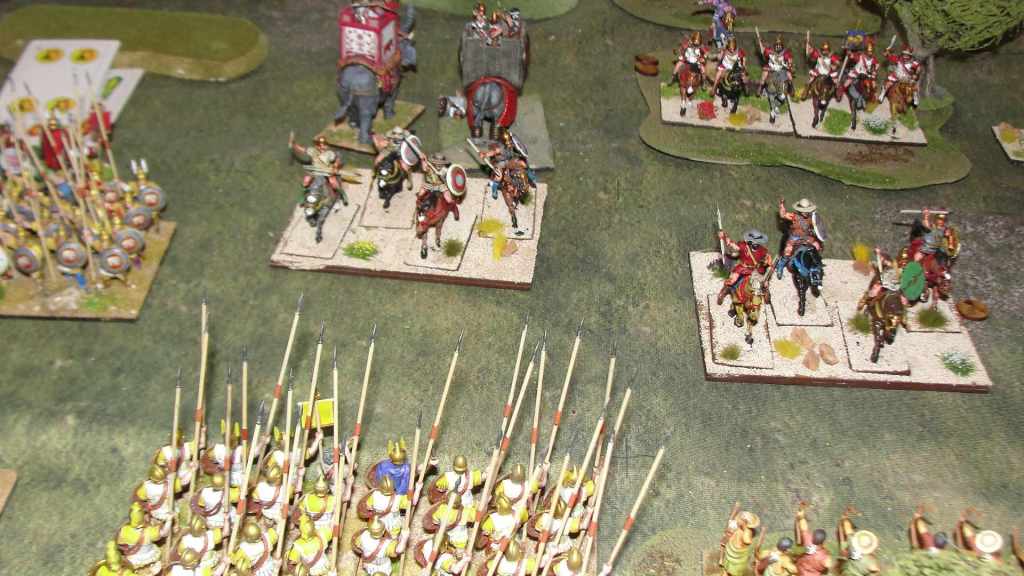
On our left “Broken Dices” elephant was worried as it faced off against a pike block having taken a casualty and become disordered.

Elephant worried

It had every right to be as it took another casualty and routed. The only consolation that its “rampage” did no real damage.

and it should have been

On m flank I had a hoplite unit that needed to rally, I decided to do this first drew an “ace” so not only did I not rally but that ended the activation for that command.

Hoplites refuse to rally

The Pyric phalanx on our right now drove off the two units of cavalry, things were now getting complicated, and our army was close to collapse with only 6 of our “victory medals” left before we broke.

Pyric pike break through

Then we were down to “3 victory medals” as another of our cavalry units quit the field.

Another Selucid cavalry breaks

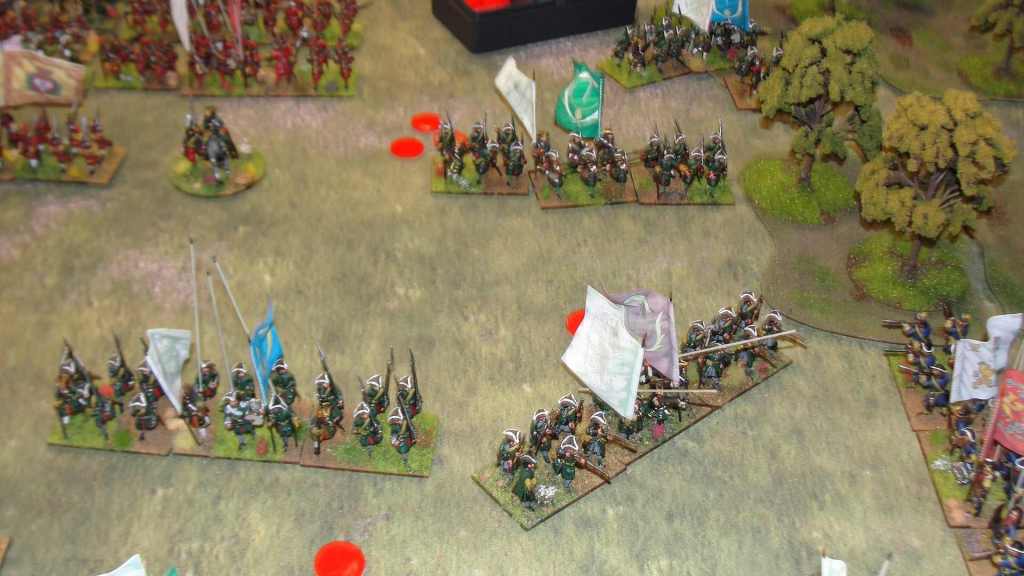
We then had some success as we managed to break a unit of pike to give us some breathing space.

Selucid success

Just after that we managed to rout a unit of elephants which made things even closer.

Elephants break

Now across the field things had really gotten complicated with pike blocks and cavalry facing in all sorts of directions as both sides tried to go for the “kill”. First opportunity fell to the Pyric when one of their pike units hit my twice disordered hoplite unit. If I failed the save we would lose the game but luckily I managed to save with an 8 😥. On our next turn we were able to inflict enough casualties to strip the last victory medals off the Pyric forces to win.

Confused battlefield

So once again another close and enjoyable game with not a ruler or protractor in sight 🤣😃.

Pyric vs Seleucids 3rd Round

In the Depths of the Country – Lion Rampant

Trying something new with Lion Rampant Dave A organised the game and the figures used are from his and Dave B’s collection.

There were two main forces, the first was Sir William Everard-Cock (me) and Sir Walter Weasley’s (“uncle Albert” Julian) bands versus Sir Sydney Snydley (Dave B) and Sir Philip De le Pheu (Paul). But to complicate proceedings a third team was thrown into the mix was a band of outlaws (Alan) who were looking to take advantage of the situation for a bit of daylight robbery. Dave A provided the umpiring services.

Each warband could gain glory for differing victory conditions from killing enemy units to stealing herds of animals or killing an opponent’s leader.

The main action was to take place around an island whose ownership was disputed by Sir William and Sir Sydney.

The hill that everyone is interested in

Taking advantage of the manoeuvring of the other factions the outlaws rush straight for the island and the flocks of animals peacefully grazing there.

Outlaws race to the hill

Sir Walter dispatches his foot retainers to dissuade the peasants from removing the herds but is ignored.

Sir Walter’s men at arms move to arrest the outlaws

On my flank Sir William and Sir Philip’s forces face off and start to exchange fire. To force the issue Sir William advances across the river. Will this be a mistake? Challenges and insults between the leaders are exchanged but with little effect.

Sir William and Sir Philip dispute the village

On the hill the outlaws have control of both the flock of sheep and the herd of cattle but can see the approaching retainers. The outlaws warrior unit gives up on worrying the sheep and charges the retainers driving them back.

Sheep worrying going on

At the same time Sir Walters troops exchange shots with Sir Sydney’s troops on the far side of the river while Sir Walter moves up to support his retainers.

Sir Walter in a quandary

With his troops taking casualties from shooting by both Sir Walter’s and the Outlaw bands he does the honourable thing and hides behind his retainers.  

Sir Sydney trying not to get shot

On the other flank Sir William and Sir Philip engage in combat that does not go well for Sir William!

Sir William and Sir Philip face off

After his foot retinue have been defeated by the outlaws, he leads his knights forward to teach them a lesson. However, this does not end well with Sir Walter perishing in the engagement.  

Sir Walter upsets the outlaws

Sir William is now sat in splendid isolation in front of his foot retinue and is soon killed as the “last man” standings in his unit 😭.

Sir William in splendid isolation shortly before his demise

Shortly after this the game was called. Now for my side things had not gone well with both Sir William and Sir Walter meeting grisly ends. But what about the overall glory scores?

Robin (Alan) and his outlaws managed a score of 5 Glory.

Sir Sydney (Dave B), Sir Philip (Paul) and Sir Walter (“Uncle Albert”) all managed 3 Glory.

While Sir William (me) brought up the rear with a measly 2 glory (but better than the zero I scored in the recent MTWBK game recently).

Congratulations to Alan for the win and also to Dave A for organising an entertaining game.

In the Depths of the Country – Lion Rampant

GNW Saxon and Russians vs Swedes

We were back in the Great Northern War this week in a pickup game where “Uncle Albert” Julian (Saxons) and Nigel (Russians) took on “Broken Dice” David and me who were using the Swedes.

Russo-Saxon Forces advance

While the Saxons and Russians advanced with elan, the Swedes took a more sedate approach with the infantry and slowly advanced (in other words we only just made the command rolls).

Swedes calmly advance

The Saxon dragoons had advanced onto the high ground but unlike the Swedish infantry the cavalry had no problems with the command rolls and two units thundered into the Dragoons.

Swedes charge

These charges had the expected results with one unit of Dragoons being routed and the other being pushed back. However the Swedish cavalry had also taken damage.

Partial success

The Saxons soon had their revenge as a unit of Cuirassiers thundered into the Swedish cavalry who were routed.

Saxon revenge

In the centre and right flank a firefight had developed between the opposing infantry and a lucky shot from the Swedes inflicted an early rout on the Saxons. Also the Russian plot to advance the Dragoon brigade through the woods was not working. A number of failed command rolls meant that the Dragoons were still sat on the other side of the wood not worrying the Swedes at all.

Early loss in the Saxon infantry

On the Swedish right flank the infantry firefight had intensified with close range canister and musketry taking its toll on both sides.

Close range musket dual

The cavalry battle on the Swedish left flank had been resolved with both the Swedish and Saxon brigades broken and retreating from the field. The Saxon infantry had also been broken and were withdrawing from the field. This left the Russians to try and hold it together. The Dragoon brigade finally started moving from the right to the left flank and the infantry trying to break the small Swedish infantry brigade to their front.

Saxon Infantry falling back

The infantry battle was getting intense with two of the Swedish infantry brigades teetering on the edge of being broken. All attention turned on the remaining Russian brigades. It was at this stage that the final Swedish cavalry brigade arrived on the field even though it was being led by the king and had the best command rolls!!

Its getting tight

On the right both infantry brigades were one unit away from being broken but the Swedes had 2 battalions pouring fire into one Russian battalion while the other was one on one. Now the two to one did not go as expected with the Swedes rolling poorly and not inflicting any casualties. However, the other Swedish battalion made up for it and then poor saving throws by the Russians meant that the battalion was shaken, and the Russian infantry brigade was broken and with it the army.

Not the one I expected

So again another close game with a win for the Swedes.

GNW Saxon and Russians vs Swedes

Zulu Wars – Scouting Mission

Last weeks game was arranged by Dave B and gave him chance to breakout his Zulu War collection for a game using The Man Who would be King rules.

The scenario was a scouting mission where there were several huts (that needed to be searched) and some cattle (that needed to be rounded up).

The Zulu forces were controlled by Dave A, “Broken Dice” Davod and “Uncle Albert” Julian, while the colonial forces were commanded by Alan (13th Mtd Infantry and Natal Native Horse), Paul (17th Lancers and 8th Staffordshire volunteers) and me (Boers and Natal Mounted Police). To add to the confusion a “crown prince” was accompanying the 13th mounted infantry with the potential to cause chaos.

Zulu forces appear on the horizon

The 13th raced off with the Crown Prince to the closest hut and conducted a search.

13th search the first hut

Meanwhile the Boer volunteers had raced to the huts but before they could investigate, they spotted the rapidly advancing Zulus. I therefore opened fire with limited effect.

Boer’s reach the huts but decide to engage the Zulu’s

As the Boers were at the building the Natal Mounted Police advanced to “caution” the approaching Zulus. It was also at this time the 17th Lancers advanced and engaged some Zulus rounding up cattle (unfortunately none of the photos were usable). They quickly rode over the Zulus and rounded up the cattle. After a couple of attempts to move with the cattle which they failed they decided to engage another group of Zulus where they met their demise.

Natal Mounted Police advance to caution the Zulu’s

To add to the Colonial forces concerns they Zulus successfully identified the hut with the local leader and a stash of firearms so now they had long range shooting capabilities.

Gun cache found

After successfully searching one hut the Crown Prince insisted on searching a second hut ignoring the ever-closing Zulus. Luckily, they survived the hand-to-hand fighting (just and fell back).

13th survive the charge

We now had the situation with both the 80th Staffordshire and the 17th Lancers (top of photo) herding cattle and ignoring the advancing Zulus which was making the Boers very nervous.

80th Staffordshire herding cattle

Following the success of the lancers the NMP engage a Zulu unit but took heavy casualties. Despite winning the melee it left them in a precarious position. This proved deadly as a rain of assegais rained down and the police were no more.

Rozzers suffer

Now after sitting on the hill the entire game refusing to move the NNH finally deigned to join the fray and charged the Zulus winning the initial combat.

NNH finally join the fight

With the demise of the NMP and the British busily rounding up cattle the Boers decided that discretion was the better part of valour mounted up and started to skirmish with the 6 yes 6 approaching Zulu units to their front.

Better part of valour
Boars getting worried

The NNH also started beating a hasty retreat after clashing with another Zulu unit and suffering heavy casualties.

NNH beat a hasty retreat

Now the 13th Regiment had got the Crown Prince to safety but with just the unit CO and the Prince left the Prince (he threw the highest command roll) decided they would engage a damaged Zulu unit. Lets just say that it didn’t end well for the prince and the Zulu commander had a nice souvenir from the day in the way of the princes sword.

Prince goes down

With that the game was called and the victory points counted. Two of the allied commanders both scored 6pts while I scored a mighty 0 (yes zero). But the Zulus were the winners with one commander scoring 5, another 8 (sorry chaps couldn’t remember which way around it was) but the outright winner was “Uncle Albert” with a mighty 9 points and a very nice sword.  

Overall a cracking game and a good laugh although the rules are more Hollywood that history 😁.

Zulu Wars – Scouting Mission