France 1944

“Broken Dice” David arranged a Chain of Command game recently. The forces facing each other were a two platoons of US Parachute Infantry (commanded by Dave A and “Broken Dice) against two Fallschirmjager platoons (commanded by Paul and myself). Both sides were classed as veteran which also meant that the US forces were reinforced with additional machine gun and mortar teams to balance the forces.

The scenario played was the patrol from the main rules with the objective being force the enemy to withdraw from the table.

Town Centre

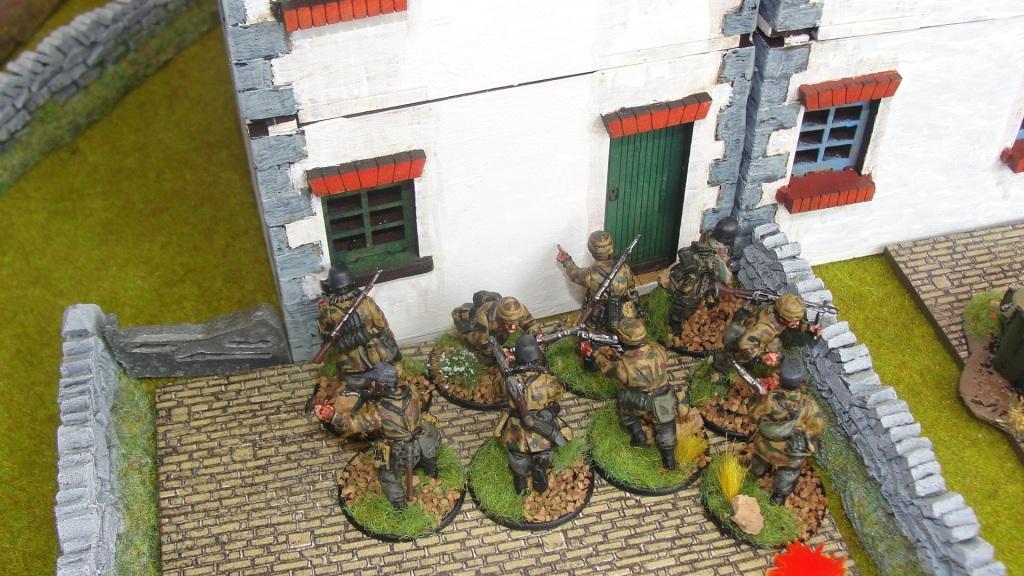
During the patrol phase both sides managed to get “jump off points” (where troops can deploy from) positioned behind the houses shown. These were used by both sides to deploy units straight into the cover of the buildings. The US deployed a section while the Fallschirmjager cheated and deployed two section and a flamethrower bring heavy firepower advantage (52 firing dice to 18!!)

Early German deployment

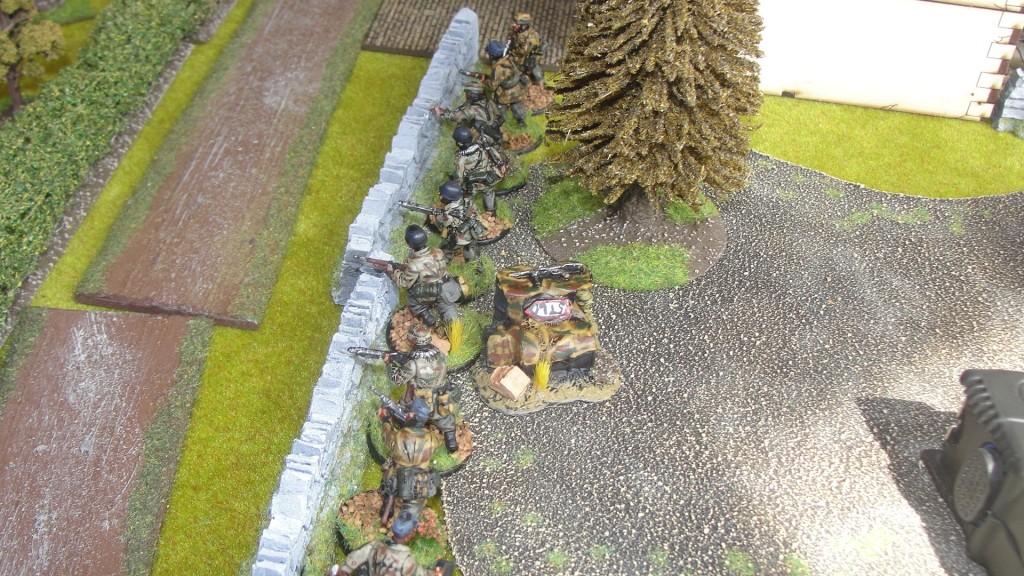
While on the German left one Fallschirmjager squad was deployed behind a wall and another supported by the sniper was deployed in the house just visible above.

US Right flank

These were opposed by a paratrooper squad supported by a machine gun team. Two mortar teams were also deployed in support in the orchard behind. This started a firefight that lasted the entire game with early success going to the Germans breaking the MG team. However this was without any real support from the german sniper where the words “door and barn” springs to mind.

Directing operations

To ensure fire continued to rain down on the building opposite the Germans deployed on of their “senior officers” who started directing operations through the window. This ensure the flamethrower used its 3 allocated shots before withdrawing. This was enough to break the original defenders but they were soon replaced by another squad.

US Machine Gun covering the flank

The US forces deployed a .30 cal machine gun to try and adjust the balance in the firefight within the buildings.

US Squad reinforces the line

And on the US left flank a second squad moves into the position vacated by the .30 cal machine gun.

Reinforcing the houses

To compensate for the flamethrower running out of fuel the Germans reinforced the building with a squad from the 1st platoon ensuring the firepower advantage was maintained. This meant 6 MG42’s supported by the odd rifle was pouring fire into the defenders.

Outflanking manoeuvre

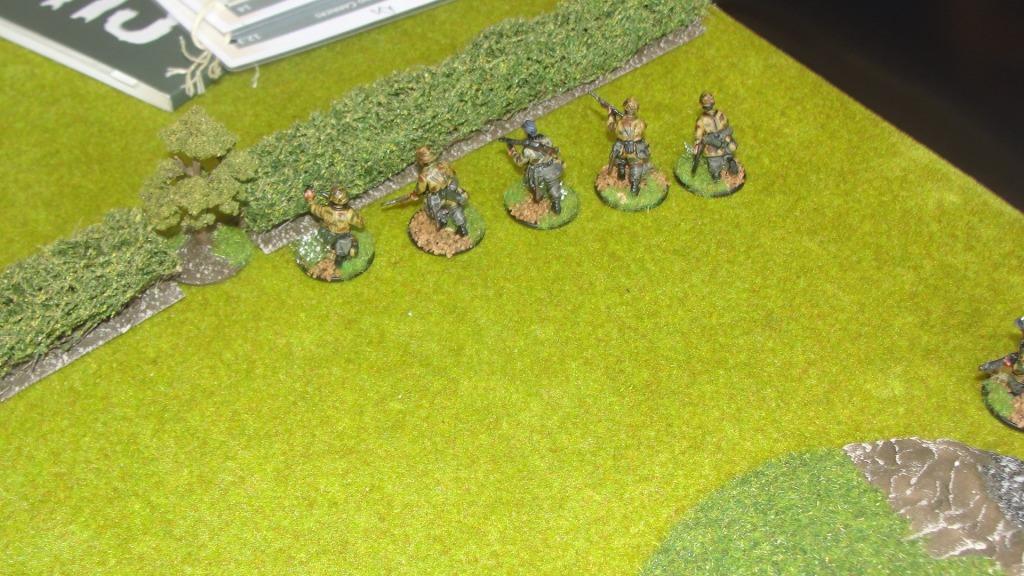
The last German section now started an outflanking manoeuvre to distract the US forces.

Massing for an attack?

While on the US right another squad was deployed to engage in the long range firefight with the Germans.

Still there

Despite the volume of fire the Fallschirmjager were still holding having only taken light casulaties.

Serious Firepower

But the German flanking maneuver was stopped dead in its tracks as the Americans deployed a .50 cal HMG which ripped through the section and forced it to break.

However when the game was called the American had been driven from the building due to the weight of German firepower and miracles of miracles the German sniper had actually manage to hit someone and would a US officer.

So a narrow victory for the Fallschirmjager.

A good game but one that proved veteran troops are hard to dislodge.

France 1944

Combat at Osma

Well first game pots lockdown completed in a responsible “social distance” way.

This is the first scenario from the Victorio Campaign (published by the Too Fat Lardies) for General de Armee rules.

In the scenario 3 French Brigades fight a delaying action against a force of 5 British and Allied brigades. The British objective ws to “demoralise” or rout two of the 3 French brigades by turn 10, the French had to avoid this situation. The French had another slight problem in that one of the three brigades was in “reserve” and could not join the battle until one of the other brigades retreated or routed.

The Allies were played by Dave A, Dave B, “Uncle Albert” Julian and Paul. The French by “Broken Dice” David, Nigel and myself.

Initial Deployment

So the French decided to try for a linear defence, we had to deploy 2 battalions from each brigade on the centre line so one brigade on each flank and the battery in the centre. Fririon (Nigel) on the French left flank was faced by Ompteda (“Uncle Albert”) and Haye’s Brigade (Paul) while on the French Left “Broken Dice” was faced by Halkett’s KGL Brigade (Dave A) and Spry’s Portuguese Brigade (Dave B). While I commanded Brigade deployed in reserve near Osma. The last British brigade would arrive on turn 4.

Batteries Exchange Fire

The game opened with desultory exchange of artillery fire and didn’t improve for the French throughout the game, the battery doing more damage to itself with poor dice rolls than the RHA battery firing at it!!!! It was so bad that Nigel will not be commanding the artillery in the next game but “Broken Dice” will.

Early Duals on the French left

On the left the action began quickly with both sides skirmish screens advancing and annoying the opponents line infantry.

French right soon engaged

Similar situation developed on the French right flank in a healthy exchange of fire.

KGL Rifles drive back French Line

Now on the French left one of the line battalions was forced to retire severely damaged (1 hit short of dispersing).

Slowing down the advance

While on the French right the KGL and Portuguese advance at a more sedate pace (they kept Hesitating on command rolls) which allowed the French to engage with skirmishers.

French Skirmishers withdraw on the right

But on the right the time soon came when the skirmishers were withdrawn and the serious firefight developed.

French left starts to waver

On the French left the situation was perilous with a couple of units close to dispersing with heavy casualties on the command roll the brigade “retires” so does not trigger the release the reserve or an additional 2 game turns.

C in C giving advice

Things were getting desperate but in the command phase I got lucky managing to have a successful roll for the “ADC’s” used in the game getting all three. This enabled to CinC to ride to the left flank and take command of the brigade, allowing all units to rally 2 casualties making things slightly more secure. Time for the brigade to roll for its status and Nigel manages a “5” on a D6 and the brigade “rallies” were holding for another turn.

French left driven back

But it is still under severe pressure and is driven back by the Allies but at the start of turn 10 we had another critical situation with the possibility of the brigade breaking but Nigel’s dice throwing for command rolls held up and a “6” appeared rallying the Brigade hurrah!!!

French battery withdraws

There is now a big hole in the centre as the battery had been forced to withdraw and soon after disperse after taking fire from a British line.

Flanked by skirmishers

This allowed the Allies to start to flank the French on the right but time was running out for the British.

Minor success by the French

However we did have a minor success on the right when fire from the French line units managed to disperse a Portuguese unit.

French Light Infantry taking heavy casualties

However the French light on the right flank was in trouble.

Light Infantry Disperse

And after being hit by 2 line units, an artillery battery and skirmishers dispersed meaning that brigade faltered.

However that was the end of turn 10 and therefore the French had won by the skin of their teeth with one brigade demoralised and the other heavily damaged but holding we had achieved the objective.

It all swung in the 2 command rolls made by Nigel (which made a change as his firing and combat dice were pants) as if his brigade had retreated or broke there would have been two more turns for the British to break the last French brigade.

An extremely well balanced scenario and a very enjoyable game.

Combat at Osma